
Large Software Projects: Initial Setup
Posted on October 12, 2025 • 8 minutes • 1692 words • Other languages: Español
This post is part of my Large Software Projects blog series .
- Code Source
- Step 1: Scaffolding the Project
- Step 2: Enforcing Code Quality with ESLint and Prettier
- Step 3: A Modern UI Foundation with shadcn/ui
- Step 4: Building Our Landing Page
- What’s Next?
In the previous post , we talked philosophy and made our big decision: we’re building this project with React and Next.js. Now, it’s time to stop talking and start building.
This post is all about the foundational work. We’ll go from an empty directory to a fully configured Next.js application, complete with code quality tools, a flexible UI system, and our initial landing page.
Let’s get started.
Code Source
All code snippets shown in this post are available in the dedicated branch for this article on the project’s GitHub repository:
https://github.com/franBec/tas/tree/feature/2025-10-12
Step 1: Scaffolding the Project
First, we need to choose a package manager. In the JavaScript ecosystem, you have three main options:
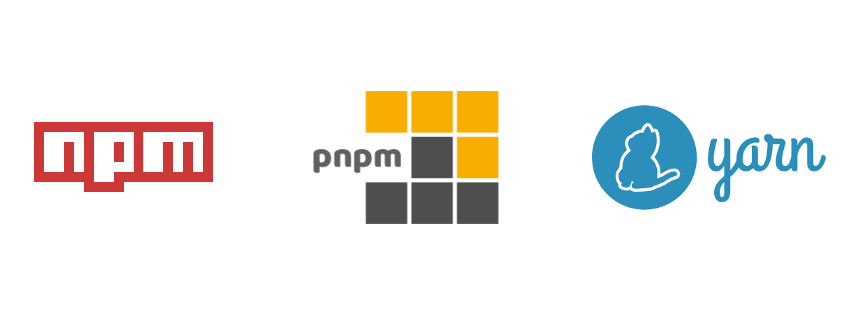
- npm : The default that ships with Node.js. Reliable but slower.
- yarn : Faster than npm, introduced workspaces and lockfiles first.
- pnpm : The fastest and most disk-efficient. Uses symlinks to avoid duplicating dependencies.
I’m choosing pnpm because it’s fast, efficient, and handles things well. The differences are minor for small projects, but good habits start early.
Now let’s create our project:
pnpm dlx create-next-app@latest tas
tas stands for “Town Admin System.” Not very creative, I know, but naming is genuinely one of the hardest problems in software development. Sometimes “descriptive and boring” beats “clever and confusing.”
During installation, you’ll see these prompts:
What is your project named? tas
Would you like to use TypeScript? Yes
Would you like to use ESLint? Yes
Would you like to use Tailwind CSS? Yes
Would you like your code inside a `src/` directory? Yes
Would you like to use App Router? (recommended) Yes
Would you like to use Turbopack? (recommended) Yes
Would you like to customize the import alias (`@/*` by default)? No
Accept all the defaults. These are sensible choices that align with modern Next.js conventions.
Understanding the Project Structure
We’re using Next.js 15, which comes with the App Router—a more powerful routing system than the old Pages Router. Here’s what the generated structure looks like:
tas/
├── src/
│   └── app/
│       ├── layout.tsx      # Root layout (wraps all pages)
│       ├── page.tsx         # Homepage (route: /)
│       └── globals.css      # Global styles
├── public/                  # Static assets (images, fonts, etc.)
├── next.config.ts           # Next.js configuration
├── tailwind.config.ts       # Tailwind CSS configuration
├── tsconfig.json            # TypeScript configuration
└── package.json             # Dependencies and scripts
Key conventions to know:
src/app/: Every folder in here becomes a route.src/app/about/page.tsx→/aboutlayout.tsx: Shared UI that wraps pages. Great for navigation bars, footers, auth providers.page.tsx: The actual page content for a route.
This isn’t meant to be an in-depth Next.js tutorial. For that, check out the official Project Structure and Organization guide.
The important thing: we’re following framework conventions.
Setting Up AI Preferences
Modern development often involves AI assistance—whether through GitHub Copilot, Cursor, or other tools. Different AI models work better with different prompt styles.
I’ve had good results with Qwen Code
in the past, so I’m including a QWEN.md file in the project root (not sponsored). This file documents project conventions, file organization patterns, and coding style preferences that AI assistants can reference.
Adding a License
Since this project might eventually serve as a template for other organizations, I’m choosing the MIT License—one of the most permissive open-source licenses available.
Quick comparison of common licenses:
| License | Key Characteristic |
|---|---|
| MIT | Do whatever you want, just keep the copyright notice |
| Apache 2.0 | Like MIT, but with explicit patent grants |
| GPL | Modifications must also be open-sourced |
| Unlicense | Public domain (no restrictions at all) |
For a municipal system template, MIT makes sense: it’s permissive enough that any town can adapt it without legal complexity, but maintains attribution.
Step 2: Enforcing Code Quality with ESLint and Prettier
A consistent codebase is a happy codebase. To achieve this, we’ll use two essential tools:
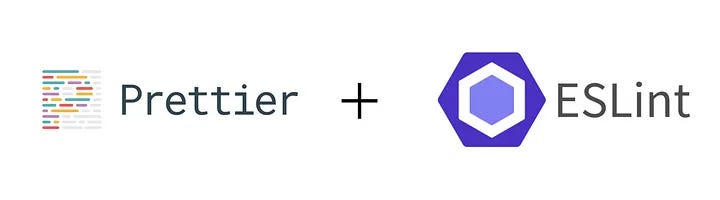
- ESLint (Linter): Analyzes code to find and fix problems based on a set of configurable rules. It catches bugs and enforces best practices.
- Prettier (Formatter): An opinionated code formatter that enforces a consistent style. It ends the pointless debates about tabs vs. spaces or where to put a curly brace.
To set them up for a modern Next.js 15 project, I’m using a handy script from the community: eslint-prettier-next-15 .
pnpm dlx eslint-prettier-next-15
This automates the installation and configuration process. I made two small tweaks to the default configuration:
- In
.prettierrc.json, I set"printWidth": 80. It’s narrow enough to comfortably view two files side-by-side, and it’s been a soft standard in the industry for decades. - In
eslint.config.mjs, I added anignoresarray to prevent ESLint from trying to analyze files and directories it shouldn’t, like build outputs, node modules, and configuration files.
Here’s my ignores array :
ignores: [
  // Build/Generated directories
  ".next/**",
  "coverage/**",
  "node_modules/**",
  "dist/**",
  "out/**",
  "build/**",

  // Config files
  "**/*.config.*",
  "next-env.d.ts",

  // Infrastructure
  ".{idea,git,cache,output,temp}/**",
  "public/**",
],
Step 3: A Modern UI Foundation with shadcn/ui
Now for the fun part: components! For this project, I’m using shadcn/ui .
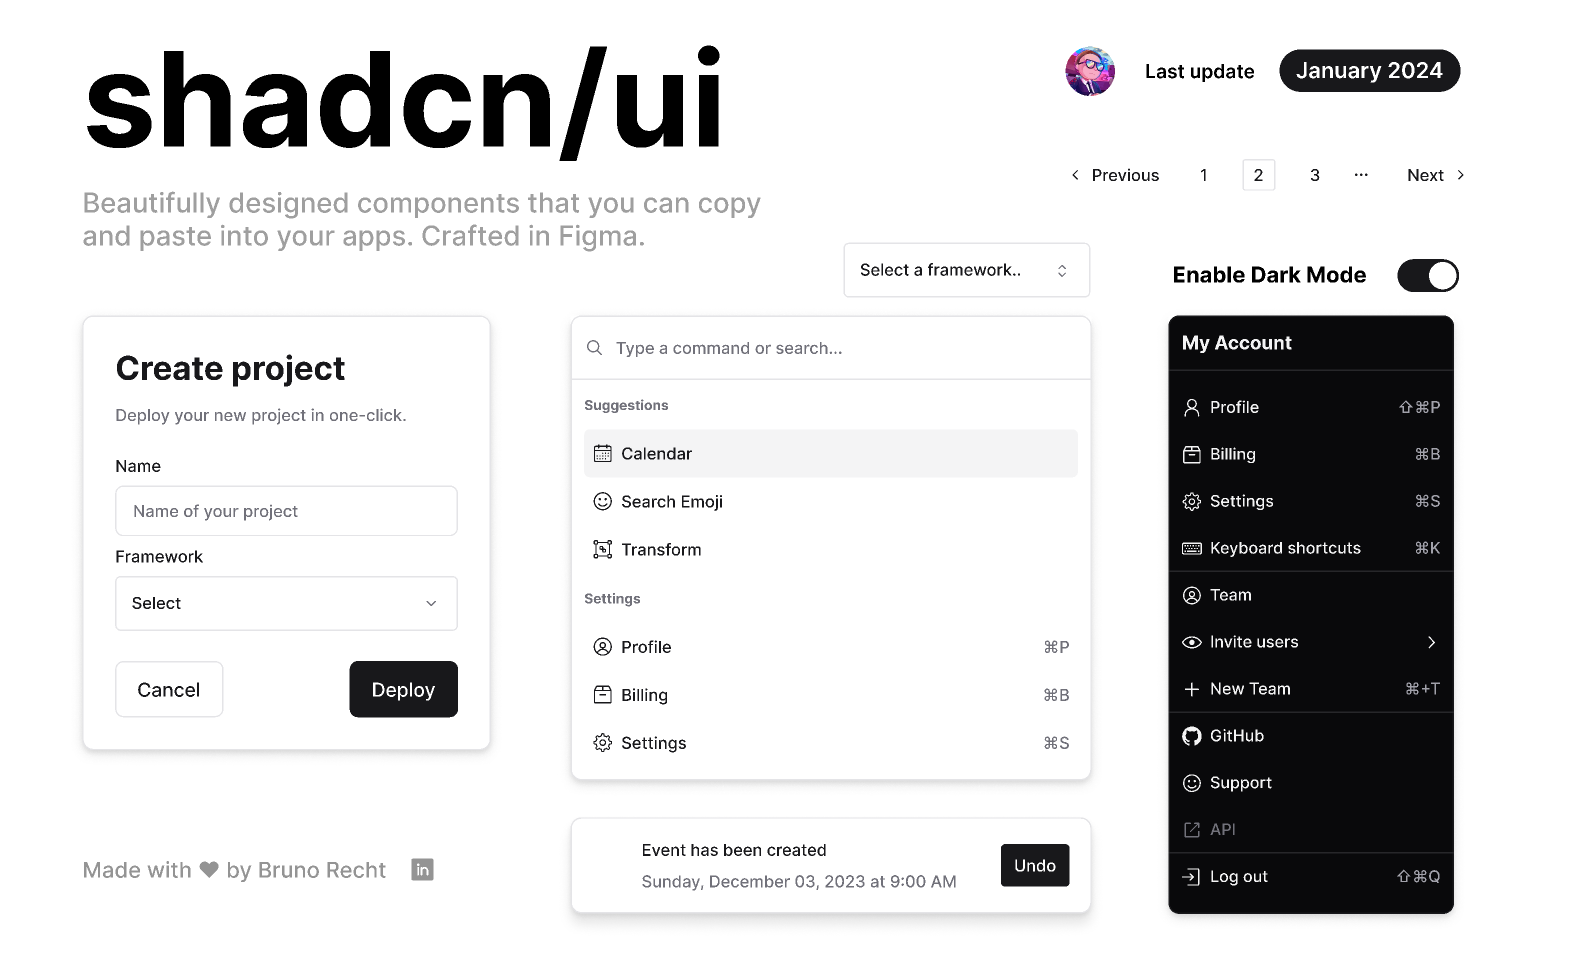
At the time of writing, it feels like shadcn/ui has won the component library war, and for good reason.
Traditional component libraries operate like black boxes—you install a package, import components, and hope the provided customization options meet your needs.
shadcn/ui flips this model entirely. It’s not actually a component library, but rather a code distribution system that places complete component source code directly into your project. This ownership model eliminates vendor lock-in entirely. You own the code, so you can change anything you want.
Let’s set it up by following the official installation guide :
pnpm dlx shadcn-ui@latest init
Accept all the default prompts. This command will set up the necessary dependencies and create a components directory.
Since shadcn/ui generates code directly into our project, we should tell our quality tools to ignore it:
- Add the shadcn generated files (
"src/components/ui/**"and"src/lib/utils.ts") to theignoresarray ineslint.config.mjs// Generated by shadcn/ui "src/components/ui/**", "src/components/theme/**", "src/hooks/use-mobile.ts", "src/lib/utils.ts", - Also add shadcn files to
.prettierignore# shadcn components /src/components/theme /src/components/ui /src/hooks/use-mobile.ts /src/lib/utils.ts
Customizing the Theme
shadcn uses CSS variables for theming. You could edit these by hand, but there’s a better way: tweakcn.com .
I’m using the “Modern Minimal” preset because it’s clean and professional—perfect for a government services platform.
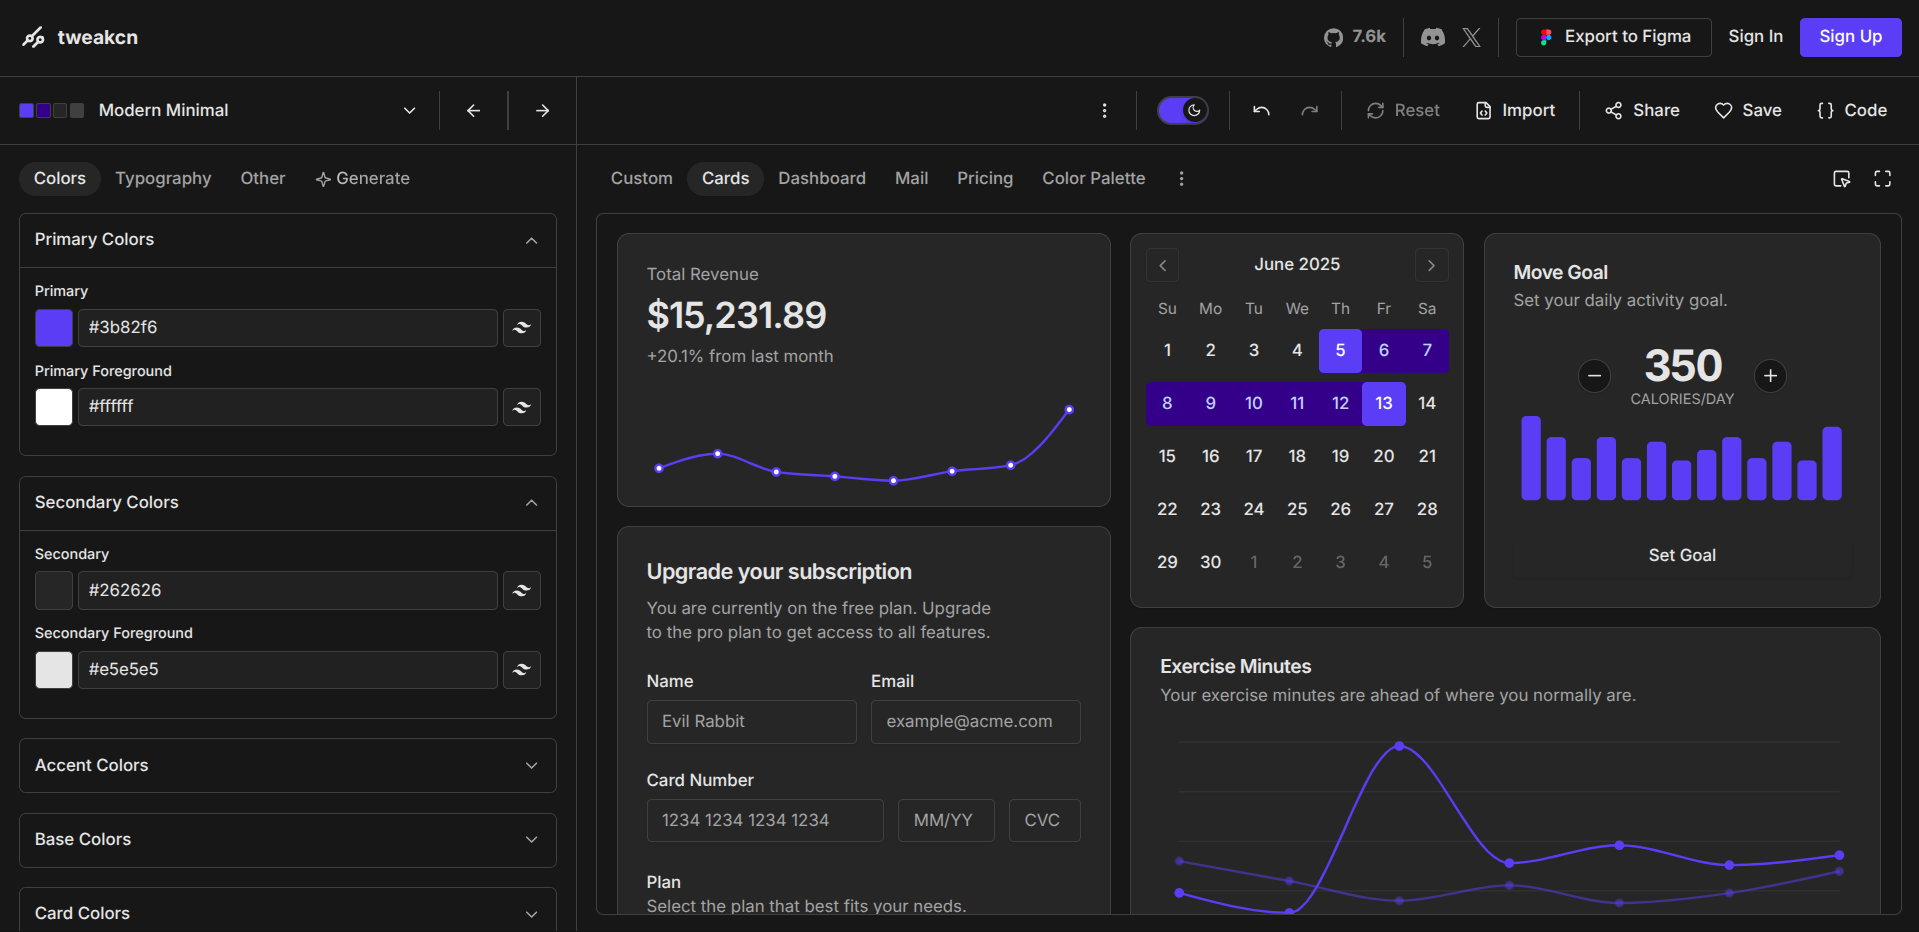
pnpm dlx shadcn@latest add https://tweakcn.com/r/themes/modern-minimal.json
Just like that, our app has a beautiful, consistent design system.
Step 4: Building Our Landing Page
With our foundation in place, we can finally build something visible. Let’s customize the default landing page at src/app/page.tsx.
import Image from "next/image";
import Link from "next/link";

import { Button } from "@/components/ui/button";

export default function Home() {
    return (
        <div className="min-h-screen bg-background text-foreground">
            <div className="py-16 md:py-24">
                <div className="max-w-7xl mx-auto px-4">
                    <div className="grid md:grid-cols-2 gap-12 items-center">
                        <div className="space-y-8">
                            <div>
                                <h1 className="text-4xl md:text-6xl font-bold mb-4">
                                    Municipal Services
                                </h1>
                                <p className="text-xl md:text-2xl text-muted-foreground mb-6">
                                    Your Digital Gateway to Local Government Services
                                </p>
                                <p className="text-lg mb-8">
                                    Access municipal services, submit requests, and manage your
                                    civic obligations through our secure online platform.
                                </p>
                            </div>

                            <div className="flex flex-col sm:flex-row gap-4">
                                <Link href={"/sign-in"}>
                                    <Button>Sign In to Your Account</Button>
                                </Link>
                                <Link href={"/areas/gov"}>
                                    <Button variant="outline">Continue Without Signing In</Button>
                                </Link>
                            </div>

                            <p className="text-sm text-muted-foreground max-w-md">
                                Note: Some administrative processes require a registered account
                                and may not be available to guests.
                            </p>
                        </div>
                        <div className="flex justify-center md:justify-end">
                            <Image
                                src="/undraw_city-life_l74x.svg"
                                alt="City life illustration"
                                width={600}
                                height={400}
                                className="w-full max-w-lg"
                            />
                        </div>
                    </div>
                </div>
            </div>
        </div>
    );
}
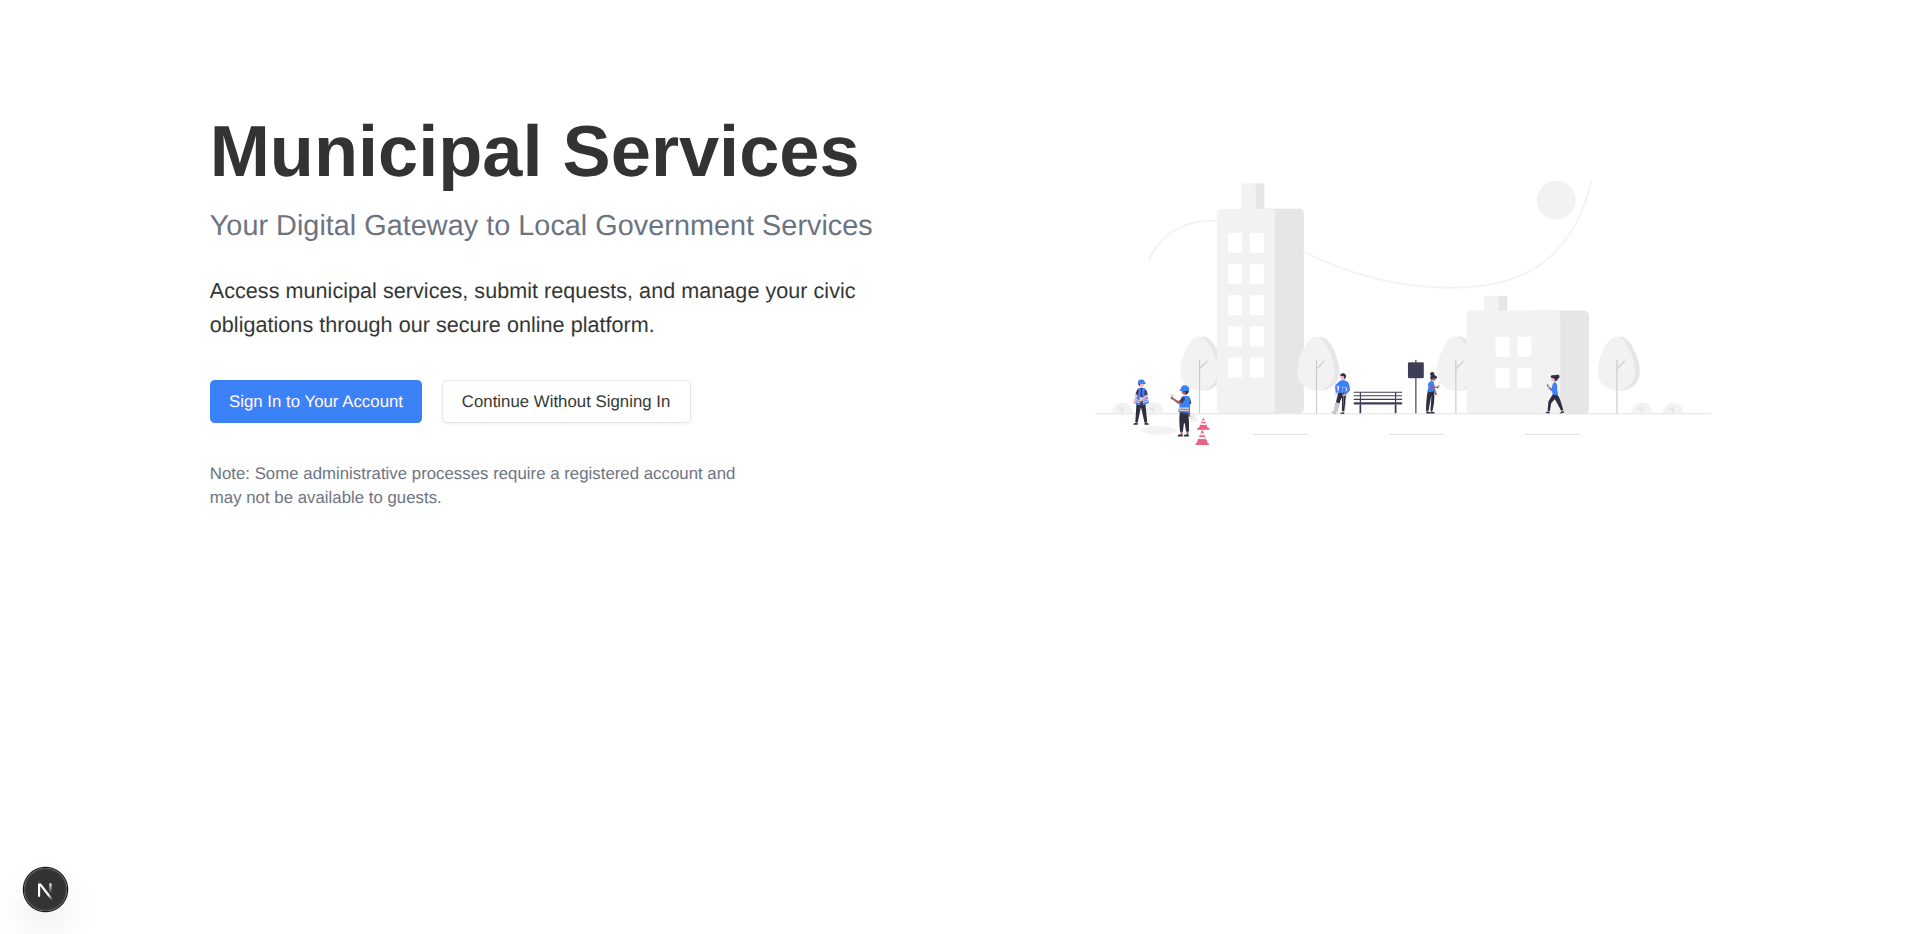
I asked my AI assistant to summarize the purpose of our new landing page. Here’s what it said:
✦ The file @/src/app/page.tsx is the home page of what appears to be a municipal services website. It uses Next.js with Tailwind CSS for styling and includes the following key elements:
Layout and Styling: The page uses Tailwind CSS classes to create a responsive layout with a header section that includes a title, description, and two buttons. It also includes an image on larger screens, positioned either to the right or below the text depending on the screen size (using grid-cols-2 for medium-sized screens and above).
Text Content: - A main heading: “Municipal Services”. - A subheading: “Your Digital Gateway to Local Government Services”. - A paragraph describing the purpose of the site: “Access municipal services, submit requests, and manage your civic obligations through our secure online platform.”
Navigation Buttons: - A primary button with the text “Sign In to Your Account” which links to /sign-in. - An outline button with the text “Continue Without Signing In” which links to /areas/gov.
Additional Information: - A note indicating that some features require a registered account. This note is styled with a muted foreground color.
Image: - An image is included using next/image which displays an SVG file (/undraw_city-life_l74x.svg). This image appears to be decorative, possibly related to the “city life” theme of the application.
Overall, the page serves as an entry point to the application, providing a brief introduction and directing users to either sign in or explore the site without an account.
This perfectly captures the goal: creating a welcoming front door for our application.
What’s Next?

We’ve established a solid local foundation: a type-safe Next.js project, beautiful UI components, and strict code quality rules. But a project isn’t truly “built” until it’s deployed. Establishing a reliable deployment pipeline early is critical to validate our stack and prevent the dreaded “it works on my machine” syndrome.
In the next post, we will set up a very simple, yet highly effective, CI/CD pipeline:
- Deployment Target: We will utilize a VPS I already own.
- CI/CD Orchestration: We will use Coolify —a self-hosted, open-source platform to manage and deploy our application containers.
- Continuous Integration: We will link our GitHub repository to Coolify to enable automatic deployment every time we merge code to the main branch.
Getting this basic deployment loop working ensures our application can ship before we introduce complexity.
Let’s ship some code. 🚀
Next Blog: Large Software Projects: Setting Up CI/CD and Deployment